Our Gift list 101 blog posts will teach you everything you need to know to make the very most of your gift list. If you're not sure how to edit your list so it looks its best for your guests, read our step-by-step guide to editing your profile pictures, gifts, personal message and more.
Add gifts to your list
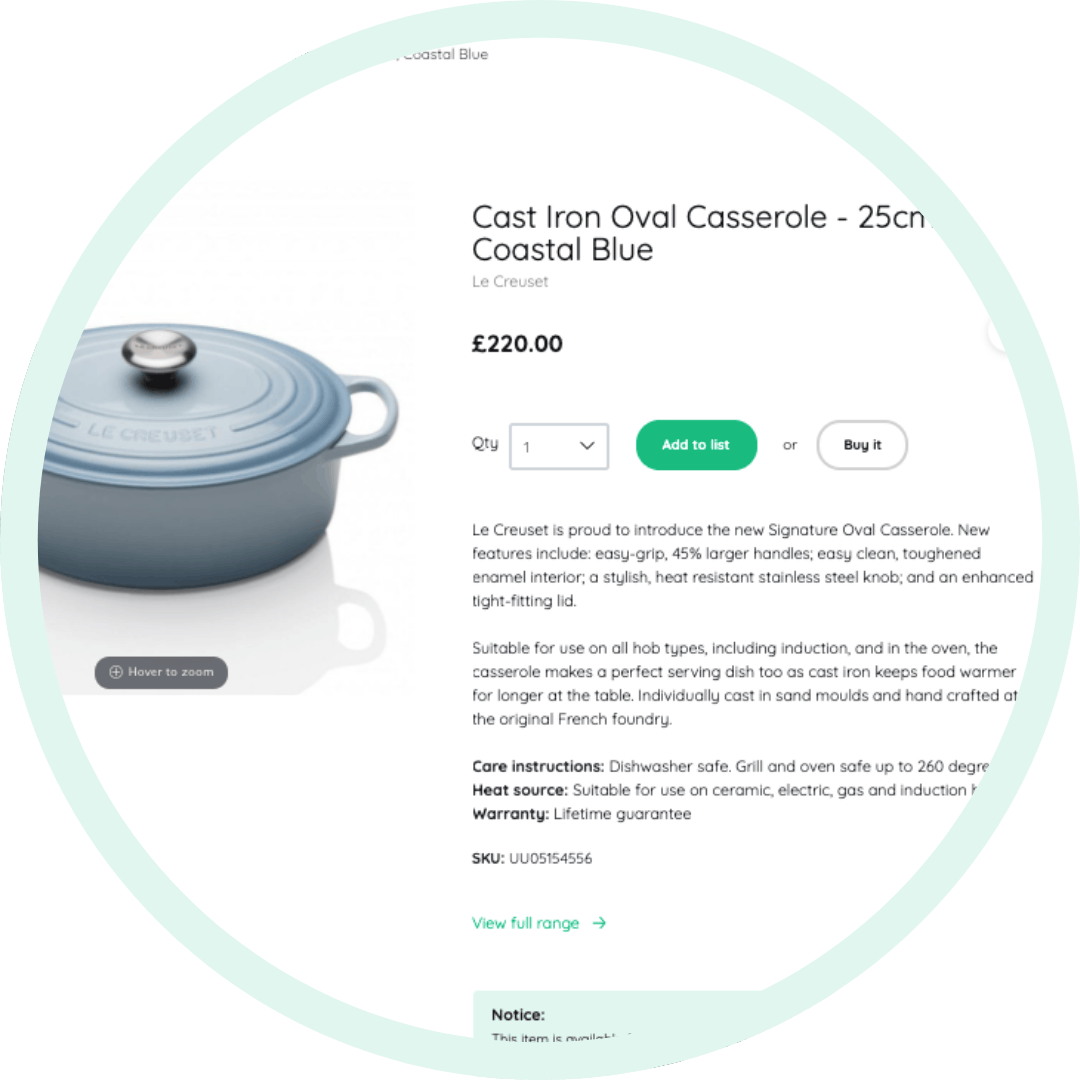
Start adding gifts by browsing our departments or using the search bar. There's plenty of choice to suit you and your home. From kitchen gadgets and teh latest tech, to experience days and amazing subscriptions, we have everything covered. Not sure where to start? Be inspired by our curated gift collections and discover our most popular products.
If you'd like to have multiples of a gift (such as dinner plates or dining chairs), simply adjust the number by clicking plus or minus in the quantity box.
We recommend you add at least one gift per guest to give plenty of choice. 100 guests = 100 gifts on the list!
TOP TIP: Add a variety of gifts with different price points to cover all budgets for guests.
Remove and edit the gifts on your list
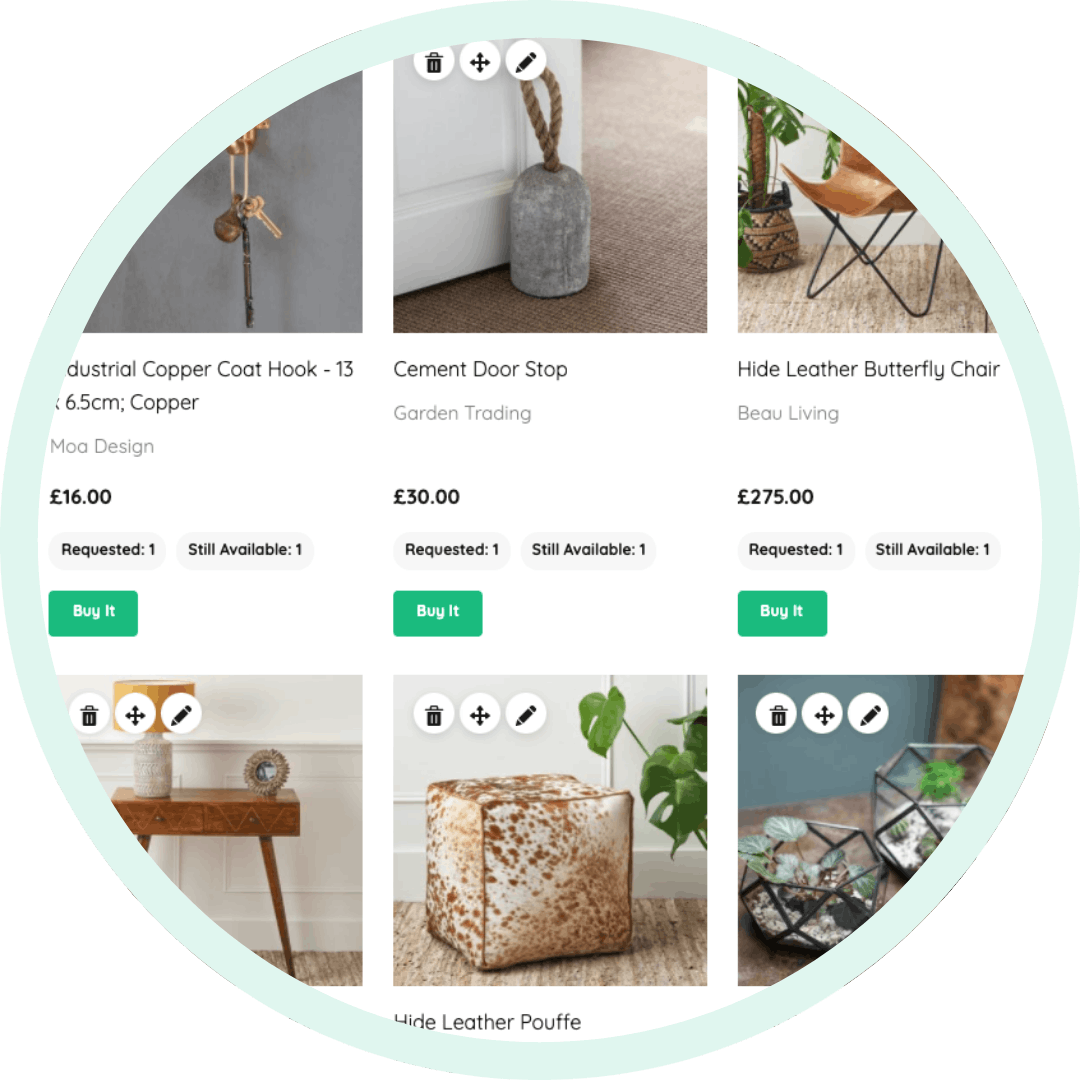
You can easily edit any gift on your list by clicking 'View my gift list' under 'Account' at the very top right of the screen. On each item that has been added to yout lisy you'll see 2 icons giving you the following edit functions;
- The bin icon will delete gifts on your list
- The arrow icon lets you rearrange the order of gifts on your list
- The pencil icon can adjust the gift quantity, edit your personal gift message on each gift, or turn on Group Gifting.
Once you're finished making changes, click ‘View list’ to show how guests will see your gift list.
TOP TIP: Rearrange your gifts regularly so the gifts you want most are near the top.
Edit your images, wedding date and personal message
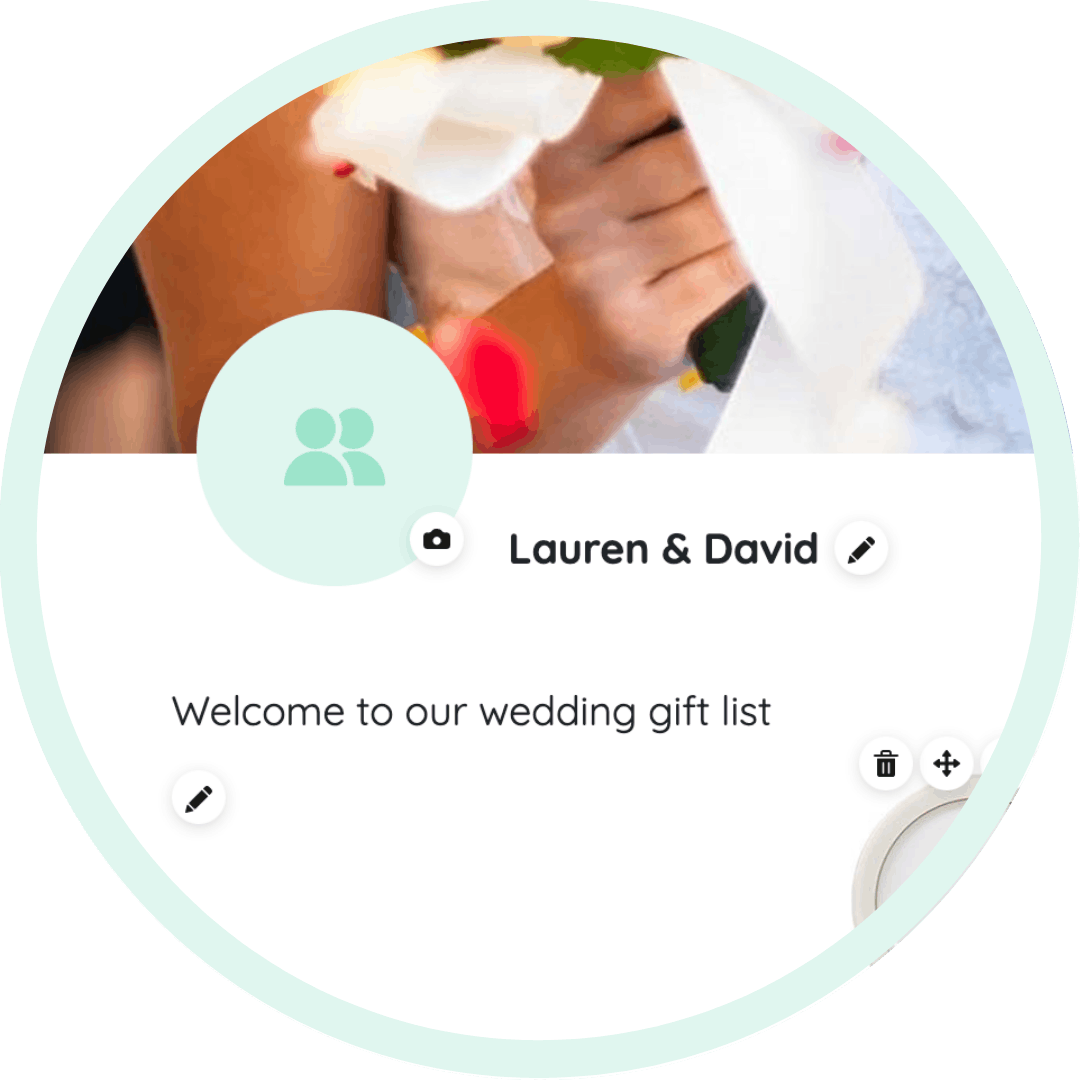
We offer a variety of header images for you to use, but you can also add your own image. Click 'View my gift list' under 'Account' at the very top of the page. Click the small camera icons on the header image and profile picture to make changes.
To edit, show or hide your wedding date, simply edit this using the pencil and eye icon next to the date.
You can also write a personal message for guests to introduce them to your gift list. Edit this section by using the pencil icon.
TOP TIP: If your images appear blurry, it's because they're too small. Choose larger images to ensure they display properly.
Open and close your gift list
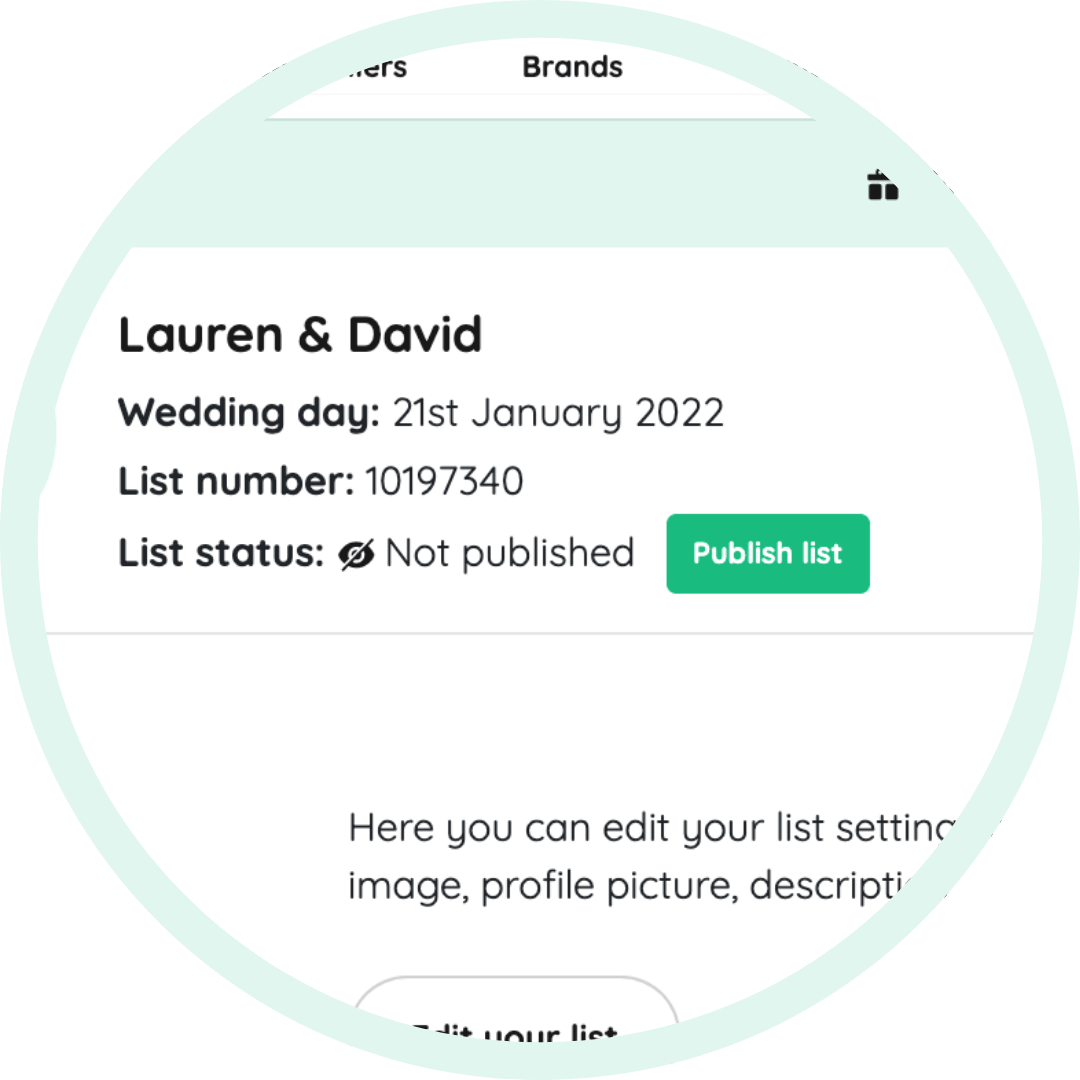
Once your gift list is ready to share with guests, you'll need to make it visible for them to start purchasing wedding gifts.
To open your gift list, visit your dashboard. You'll see a 'Publish list' button in the top right to show your list and you can hide it again by clicking unpublish.
Guests can find your list using your unique list number (if you have shared this with them) or they can search using your names and event date - this option can be turned off via your List Settings if you wish.
TOP TIP: The best time to open your gift list is 10-12 weeks before the wedding, along with your invites. This allows guests time to choose the perfect gift!
